Christmas is over and I can finally share some of the homemade gifts we made for family members!
My family started this tradition about 4 years ago (don’t quote me on that, my memory is THE worst!!), and it quickly became one of our favorites. I have 5 siblings, so combined with my parents and all of the spouses that keep getting added on… it was just becoming too much to continue buying Christmas gifts for everybody. We still do a name exchange for an adult gift to purchase, but now we also do a name exchange for a gift that has to be homemade.
There is an adult homemade exchange and a kid homemade exchange, and it seriously has added a whole new element of fun to our Christmases (and we are a family who LOVES Christmas!). Even the kids love it! We asked the kids earlier in the fall if they wanted to do it again, and every one of them screamed YES (except for my one sister with 5 young kids… but we aren’t worried about her!).
Last year, I received a Huey Lewis & the News album from my dad with my family’s faces on it! It hangs by our bar and still cracks me up a year later!
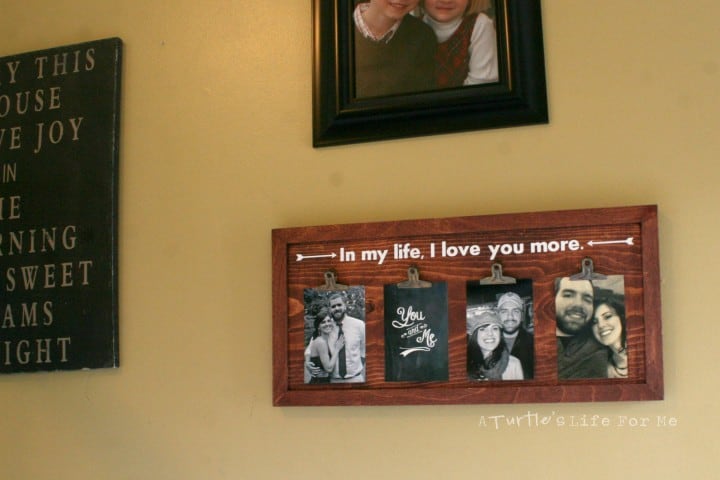
This year, I drew my brother’s fiancee in the name exchange. I know she loves the Beatles and thought maybe she could use this at their wedding this year! (P.S. THIS year!! My baby brother is getting married this year!!)
This was incredibly EASY to make and aside from drying time (the glue and stain) didn’t take very long at all!
Supplies:
(These links may be affiliate links. I will earn a small commission if you order from these links, but your price never changes!)
4′ long 1×12
1″ wide molding strips (I found mine at Michael’s)
White vinyl or paint for words
Cricut
Directions:
1. Start by cutting your 1×12 right down the middle so you’re left with a 2′ long piece to work with. We used our radial arm saw to square off the opposite end (opposite from the side you just cut).
2. Cut your molding strips to fit around the perimeter of your 1×12. We mitered our corners, but you could easily just square them off.
3. Use wood glue to attach your molding strips. We put weights on them and let them sit overnight.
4. Stain your entire piece. I used a dark mahogany from Zar.
5. I was running short on time, so I cut my words out of white vinyl using my Cricut. You could also cut a stencil using your Cricut and paint them on as well.
6. Use super glue to attach your photo clips. I held each one firmly in place for about a minute or two before I moved on to the next one.
7. Attach your picture hanger on the back and you’re done!
Here’s a shot of it hanging on my wall before I wrapped it just for perspective. The frame above it is a 16×20.
If you’re anything like me, you will now be singing this song for the rest of the day. But really, is there anything wrong with singing The Beatles?? I think not.
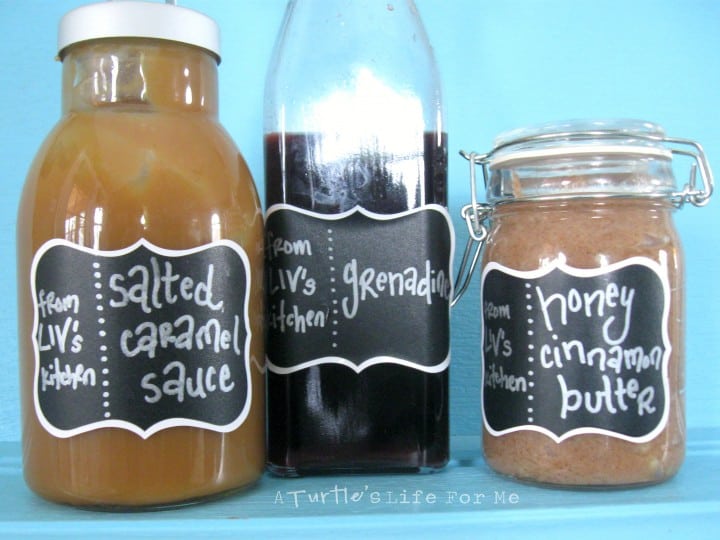
My youngest sister had my name in the homemade gift exchange this year!
Pay no attention to the scrapes and smears on the inside of the salted caramel sauce. I may have already dug into it a few times with my vanilla bean ice cream! Ridiculousness!!
And one more shot for you to pin! What quote or lyric would you put?


