


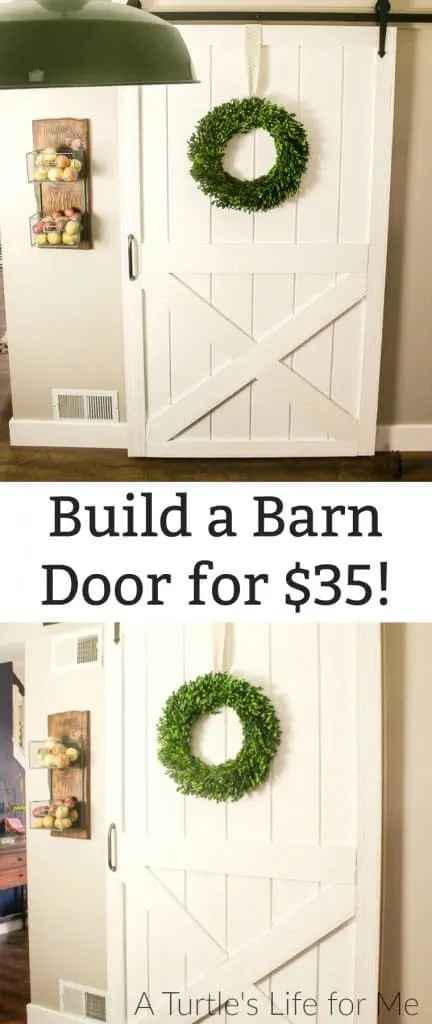
Easy and inexpensive DIY barn door tutorial. How to build a DIY sliding barn door using cheap materials, quickly!
There’s not much I will pay full price for, and a sliding barn door is no exception.
So once we decided a sliding bar door was actually the best option to close in our kitchen pantry, I set out on a mission to figure out how to build an inexpensive DIY barn door!
Not only were we able to build a gorgeous sliding barn door for barely any money, but it was also the easiest option by far! (Other than buying a sliding barn door, of course. But we’ve already established that that wasn’t an option due to budget).
Plus, it looks gorgeous.
This is one of my favorite DIY projects!


How to Build a Barn Door for Your Kitchen (or Elsewhere in Your Home)
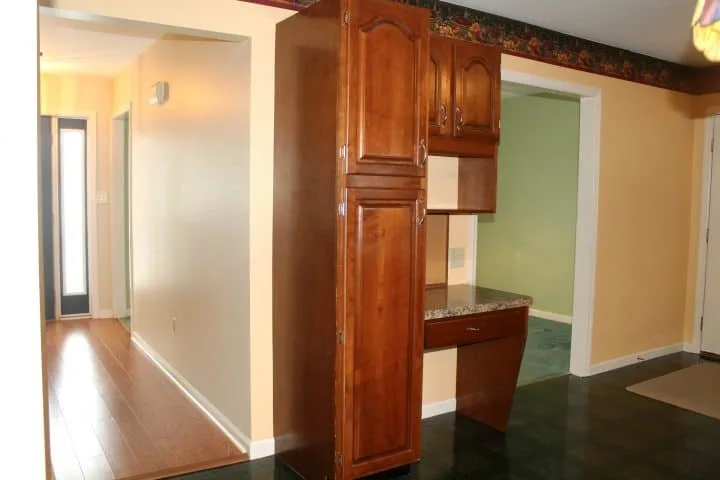
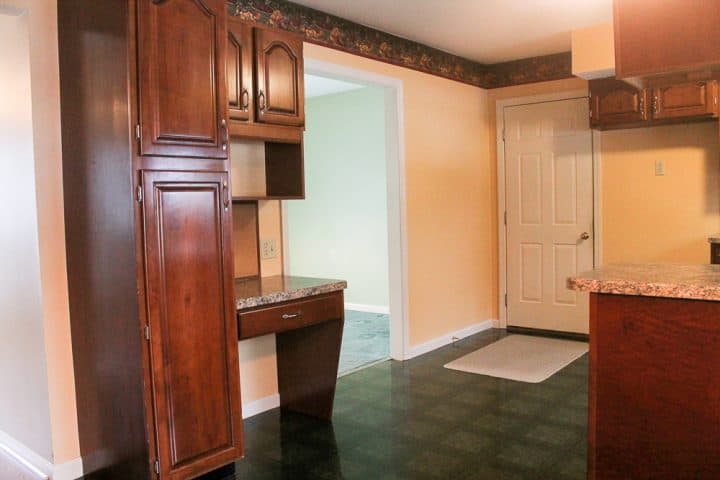
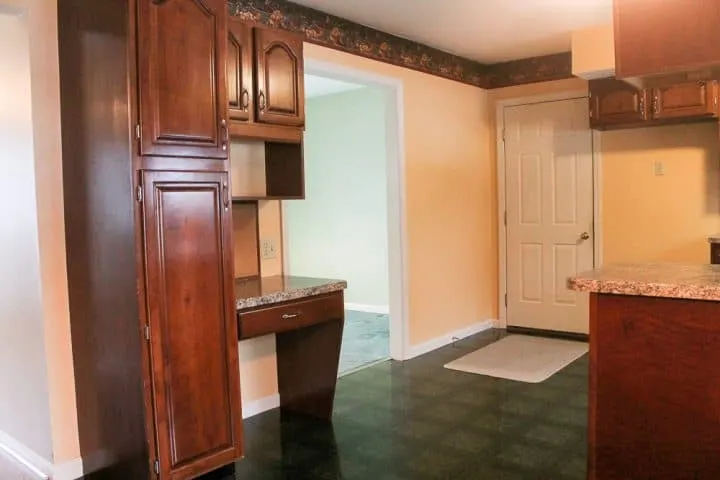
We designed this sliding barn door project for our kitchen, as part of a fairly full on renovation that involved transforming our formal dining room into a mud room and a new pantry.
In the picture below, the old formal dining room is to the right of the built in desk unit. The sage green walls and green carpet through that oversized door opening.
One we built the pantry, the pantry was in need of a door.
BUT, the doorway (as you can see) is oversized, which made it difficult to find an off-the-shelf solution.

Note: This post was originally published in 2017. I’ve since updated it and republished it to add more details.
The Problem? Off the Rack Barn Doors Didn’t Fit (and were too Expensive)
I knew a barn door would look great and fit in with the modern farmhouse aesthetic in the new kitchen.
But, I couldn’t crack the oversized part of the problem, as most of the barn doors I found wouldn’t fit (and were too expensive).
Despite Googling the heck out of DIY barn doors and even asking other blogger friends for ideas, everything I came up with either seemed way too expensive or incredibly heavy.
Fix Attempt #1: DIY MDF Barn Door
Knowing the issue, my husband came home one day with $85 worth of MDF.
The plan was to figure out some way to piece all the MDF together to create the “vertical ridges” look of real barn doors.
But I just couldn’t stomach $85, or the look of the MDF. But paying $85 for something that didn’t look exactly how I wanted it to? I just couldn’t do it.
Better Than MDF: Shed Siding Panel
After nixing the idea of an MDF barn door, the wonderful man took all the MDF back to Lowe’s and wandered around for a bit until he stumbled on a shed siding panel!!
It was only $23!! And it’s sold as a solid sheet, with no assembly required! With the perfect spacing and look to the grooves to make it stylish.
Isn’t it genius?!
The shed siding panel was almost the perfect size to make a barn door for our pantry!
We just had to cut the boards to take a little off the top.
If you plan on following this tutorial to build a barn door, don’t worry if you aren’t the best at straight cuts. You’ll use trim as well, which will hide that edge later on in the project.
Trim for My DIY Sliding Barn Door
For the barn door trim, we visited our local hardware store.
I wish I had a specific name for the type of wood we used.
But, this was an OLD local hardware store with some fast-talking, wood-lingo-using employees.
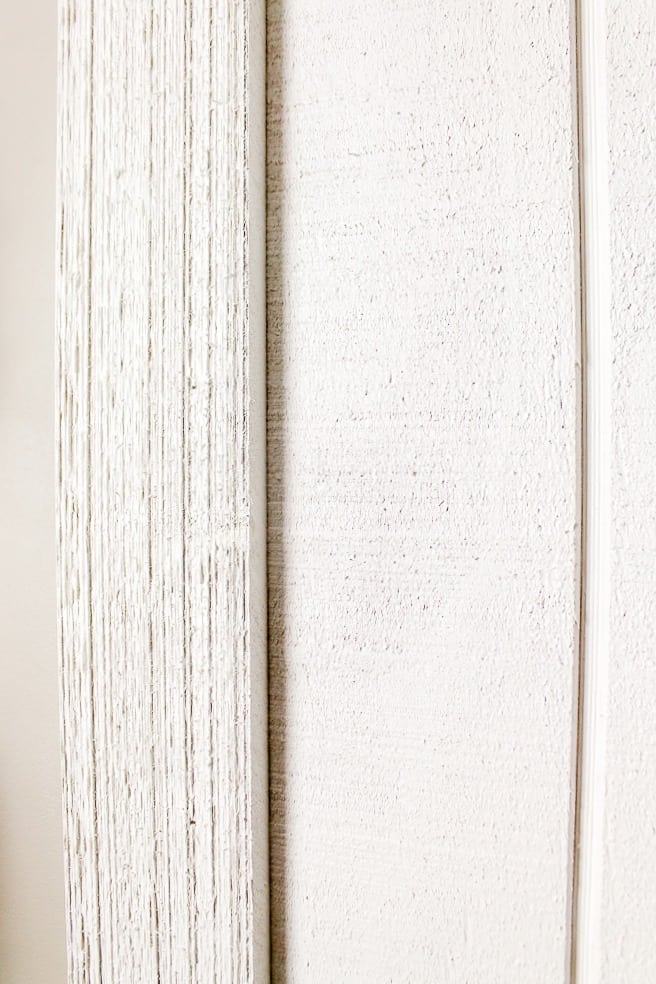
They just kept calling it rough sawn wood, and when I saw it, I knew it would look great on sliding barn doors, since it has the rough, country-chic look to it.

We got enough 1″x 4″ for the perimeter of the door.
We also bought the same rough sawn wood in 1″ x 6″ size for the inside cross bar and bottom X.
Attach the Trim to the Perimeter (Top and Bottom and Both Sides)
We attached the trim to the perimeter of the shed siding panel using wood glue and a nail gun.
To ensure that the entire barn door was covered properly, we made the side trim pieces overhang a bit.
This looks a bit ugly from the back of the door, but we didn’t care. Since the inside of our door is just the inside of the pantry, it didn’t matter to us what the back of the door looked like.
The photo below shows what it looks like from the inside/back of the barn door. The arrows point to where the trim and the main shedding board meet, with the trim overhanging on the left of the picture.
If you choose to do the same, you’ll have to figure out measurements to suit your space and project (in terms of how much the trim should overlap).


To add a bit more architectural detail, we also attached a cross bar across the middle of the door, and an X at the bottom, using the 1″ x 6″ rough sawn wood. This also required a nail gun, and you may need a miter saw to get the X to fit.
Paint It!
Once we had attached the trim with a nail gun and wood glue, and had the overhang set up the way we wanted it, we painted the barn door.
I HIGHLY recommend using a paint sprayer for this.
The trim is truly a rough sawn wood and would destroy a paint roller. The shed siding would be a bear as well, especially trying to get in the cracks.
The paint sprayer took about 10 minutes per coat. Plus, if you’re anything like me, you’ll use it over and over again in projects (like my repurposed cabinet door art with Christmas wreath).
The wood and paneling really soaks up the paint, so we needed 3 full coats of the white paint to get an even coverage.
DIY Barn Door Tips and Tricks: What I’d Do Differently
We’ve had the door hanging for a full year now, because I wanted to be sure this was actually a good solution before I shared it with anyone.
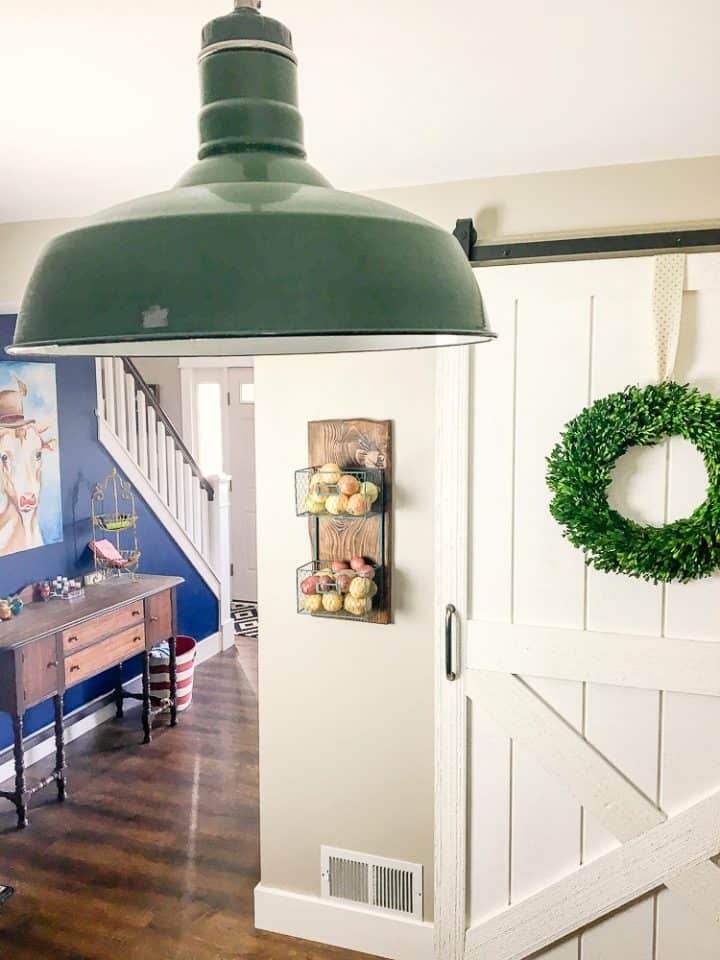
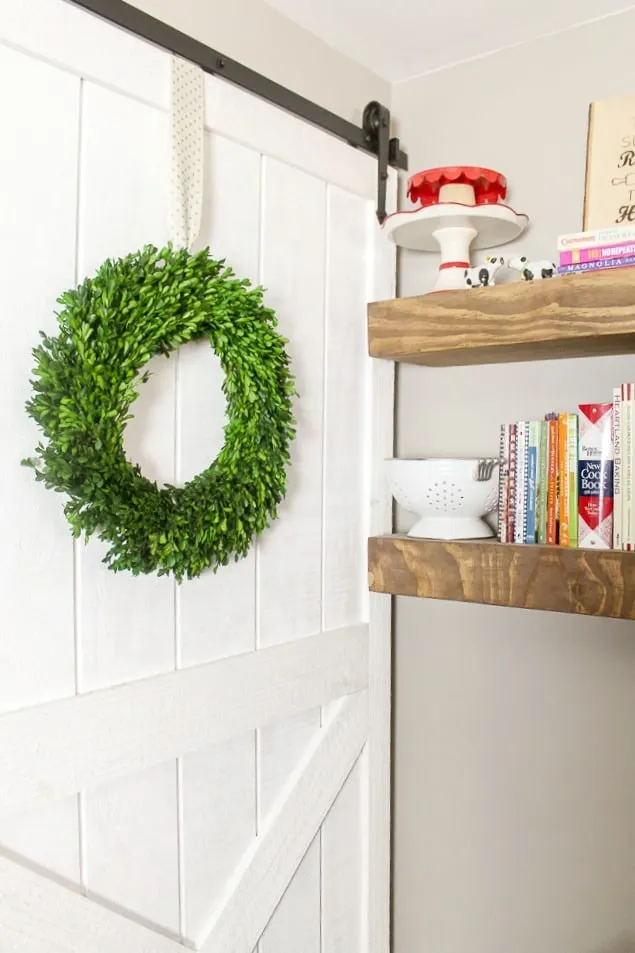
Overall I LOVE my DIY sliding barn door!


But, there is one thing I want to caution you on, and also offer a solution.
If you stand directly to the side of the door, you can see that there is a bit of warping towards the bottom of the door.
The siding panel is thin and lightweight and the slight warping started within days of it being hung.
I delayed posting, because I wanted to see if it would get worse over time. It honestly hasn’t.
If you’re standing directly in front of the door, you can’t even notice it. But from the side, and when we point it out, you can see it towards the bottom.


If this bothers you, I would buy double the amount of 1″ x 4″ trim that you need for the perimeter of the door. Then attach the trim around both sides of the door and attach firmly.
This will pull your entire door together vertically and eliminate the warping.
This is also a good solution if you’re going to be using your door somewhere where you can see both sides of it.
It will give it a much more finished look!

Barn Door Hardware and Track


Because of the awkward size of our door, I had to turn to Ebay for sliding barn door hardware (mostly the track) that was the correct size and affordable. I found a 10′ track for $80.
If your door is a normal width, you can buy your barn door hardware on Amazon.
There are plenty of barn door tracks on Amazon, and I wish that had been an option for us!
Mounting the Hardware Kit
To mount our track and door, we mounted a 1×4 board directly to the wall, and then mounted the door track to that.
The reason for this is that our doorway still had the trim that stuck out about 1″ past the wall. If there was no doorway trim, we would have mounted the rail directly to the wall.
Stopper
Our barn door track came with a door stopper for the bottom of the door, but it was one that had to be drilled into the floor.
I wasn’t too excited about that since our floors were only about 3 months old at the time.


Instead, my mom found me this cast iron door stop and it’s pretty much my favorite thing! I LOVE it and think it pairs perfectly with my rustic homemade barn door!
Supplies for my DIY Barn Door Project:
1 sheet shed siding
1″ x 4″ rough sawn wood (length determined by size of your doorway)
1″ x 4″ rough sawn wood (length determined by size of your doorway)
Paint
Barn Door Hardware and Track (Something like this!)
Final Thoughts
Not bad for how to make an inexpensive barn door, eh?
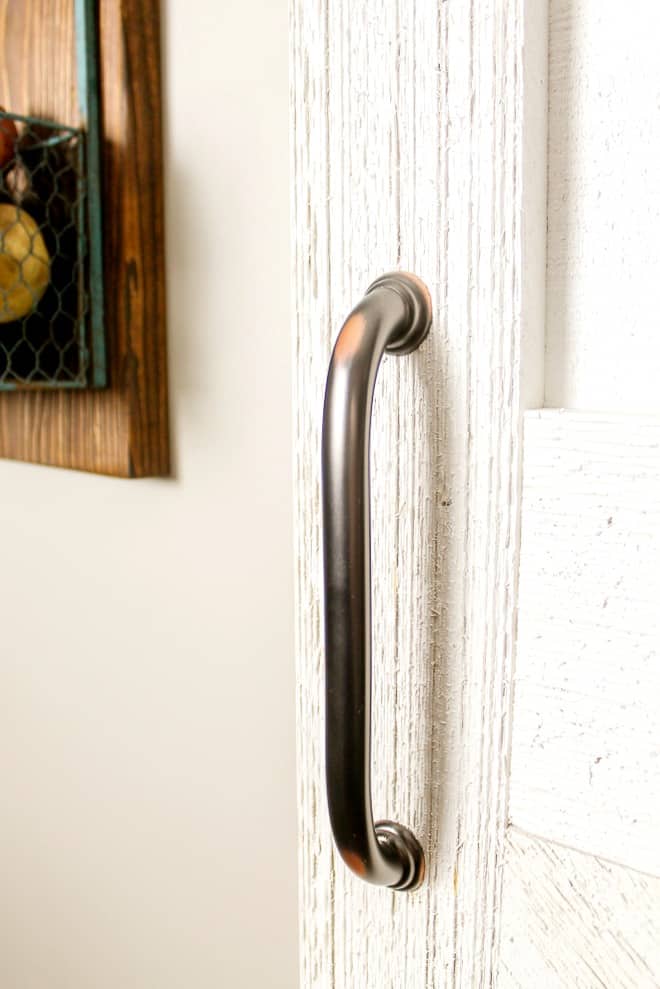
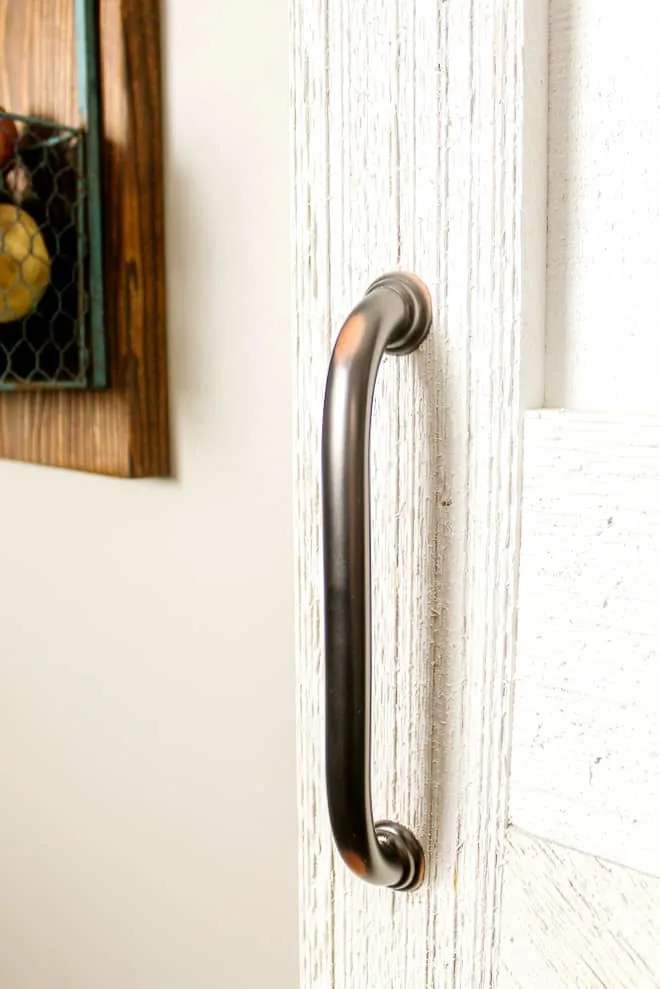
$35 for our door and $72 for the track. I was given the door handle from Hickory Hardware, so our final out of pocket was only $107!
And I’m thrilled with how well it completes our kitchen!
This corner of our kitchen has come such a long ways in the 18 months since we’ve moved in!
The dining room is no longer (turned into a mud room with bench and a pantry), the garage door was moved, the built in desk is gone, and the hallway to the front door has doubled in width!
And our home improvement projects continue!
We built floating shelves for where the garage door used to be:

And we built shelves for inside our new pantry! Seriously, this pantry makeover was one of my very favorite projects we’ve done in the house so far and also done on a pretty impressive budget!


Be sure to check out all of the posts that helped create this final look!
And be sure to pin this post so you’re ready to go the next time you need a barn door!

Cindy
Thursday 5th of May 2022
What are the dimensions of this door? I want to do a barn door between my family room and living room. The opening is 61” and I want only one big door. I’m not sure if it is doable
Kim Mousley
Saturday 12th of March 2022
I love your door. Thank you so much for the information. I am trying to talk my husband into helping me make the door. I wanted him to see the video. I found the written directions. I couldn't find the video? Do you have a video of the barn door project? Thank you again for sharing.
Heather
Tuesday 28th of July 2020
Thank you SO MUCH for this idea. I just built mine and got it hung up. It’s stunning and so fun and easy. Thank u!!!
Natalie
Wednesday 2nd of September 2020
LOVE hearing that! So glad it worked for you!
Liz
Sunday 22nd of September 2019
Did you already have the door? Sorry if you already amado the question in prior messages but just was r clear.
Natalie
Sunday 13th of October 2019
Hi! I'm not sure I'm understanding your question. The entire post is about how we built the door from scratch and explains the different pieces we bought to piece the door together.
Leslie Senyk
Saturday 13th of January 2018
I really like that barn door,I would like to put one in my basement. Looks interesting! Would fit right with my basement!!