It’s really not as hard to customize your own t-shirts as you might think! I’m going to show you step by step how to make iron on designs for tshirts with Cricut Design Space! You can personalize your clothes in one easy project!

My last couple projects with Cricut have been all about the tshirts! For so long, this process intimidated me and I kept putting it off. Once I made my first personalized shirt, though, I was hooked!
The process is so simple and one shirt comes together in under 10 minutes! I promise you, you will be eyeing up all your family’s clothing soon to see what you can customize.
Up until now, I’ve only used Cricut’s Iron-on Lite. It works great and we haven’t had any issues with peeling after washing.
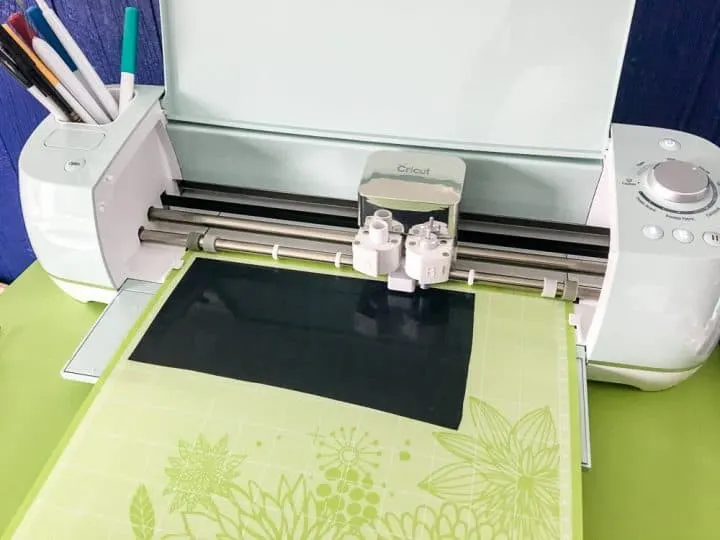
But for this project, I wanted to personalize some of my daughter’s work-out clothes. Since all her shirts are the Dry Fit style, this was the perfect opportunity to give the new SportFlex Iron On™ a try!
When You Should Use Cricut SportFlex Iron On
- If your clothing is made of nylon or polyester, this is the iron on you want to use! It’s perfect for activewear (think Dry Fit shirts).
- This is also a great option for maternity shirts. Maternity shirts are made so they have some give and stretch to them and the SportFlex will stretch right along with the shirt without tearing or cracking.
- You can also customize baby onesies, tote bags, hoodies, throw pillows, leggings and more!
Benefits of Cricut SportFlex Iron On
- It’s a very lightweight iron on. When you’re working out and sweating at the gym, the last thing you want is a heavy shirt weighing you down. The SportFlex is extremely lightweight so it won’t bunch up or add unnecessary bulk.
- It’s flexible and stretches well! When you’re in your downward dog or grunting through another squat, your Sport Flex design will stretch right along with you! You can pull and yank on that shirt, and the Sport Flex moves right along with it! It’s magical!
- It comes in a number of colors so you can really have fun customizing your clothes! You can even layer your colors, although it’s recommended that you don’t do more than 2 layers on top of each other.
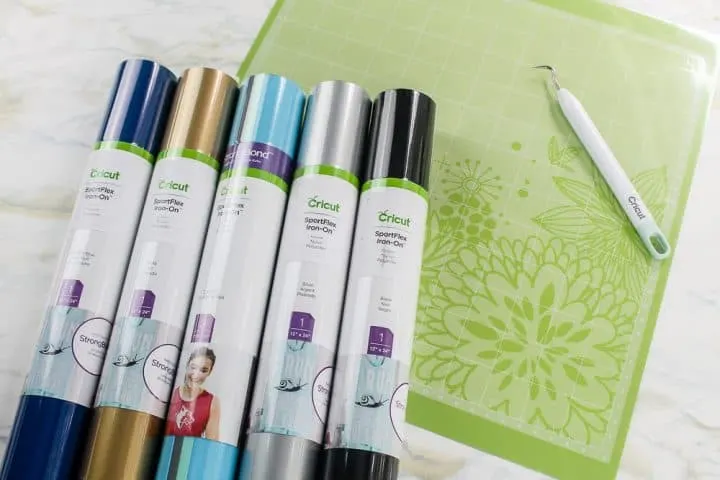
Supplies to Make Iron-on Shirts
- Cricut Explore Air 2 or Cricut Maker
- SportFlex Iron On
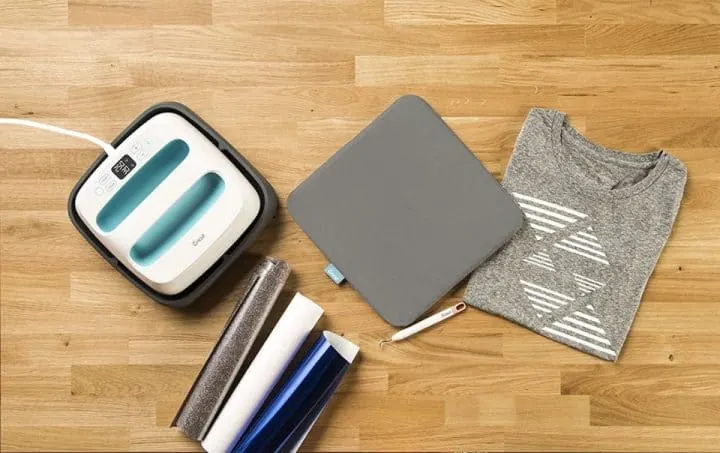
- Cricut Weeding Tool
- Dry Fit Shirt
- EasyPress or Iron
- Free Files from Design Space
How to Make Iron On Designs for Tshirts with Cricut
Open up Design Space and click on create new project. To make a shirt similar to the ones I made, just click on “Text” in the left sidebar and type the text you want. As you’re planning your design, the SportFlex comes in one sheet that is 11.8” x 24”.
You can use the menu bar above your mat to edit the size, font and more. If you need an overview of how to use your Cricut, be sure to check out my Cricut for Beginners post.
After you have your text the way you want it, click on “Make It” in the upper right corner. The most important thing to remember when working with iron on, is that you want to mirror your image before you send it to the Cricut to cut. Just click on the Mirror button on the left sidebar until it turns green and your text flips backwards.
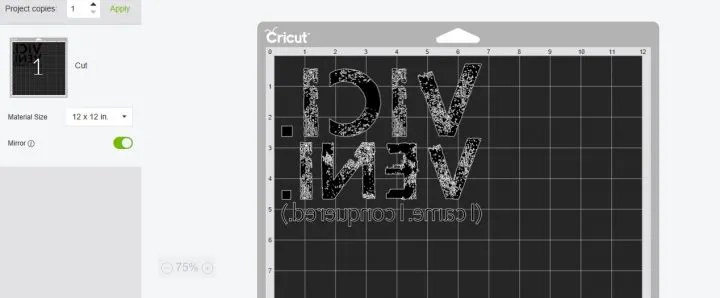
Load your SportFlex Iron On onto your mat with the shiny surface down. Then you can follow the prompts to send it to your Cricut to begin cutting.
After it’s finished cutting, you need to weed all the extra iron on that you don’t want in your final design. Flip it over onto your shirt so that your letters are facing the correct way. Center it on the shirt and then follow the directions on your easy press to adhere it to the shirt.
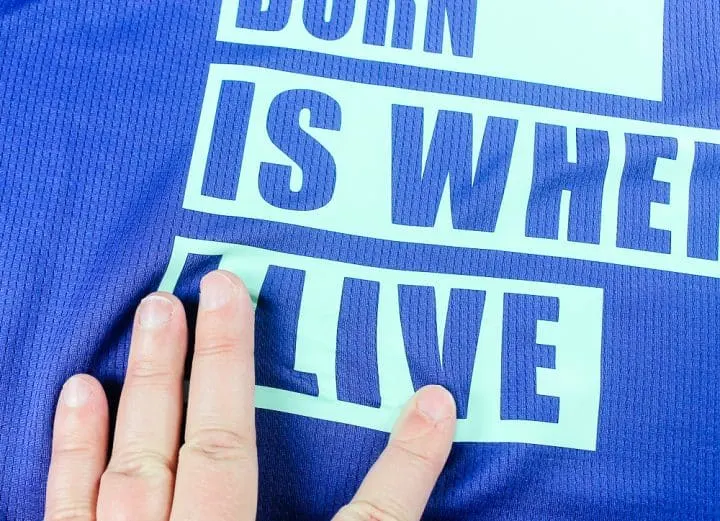
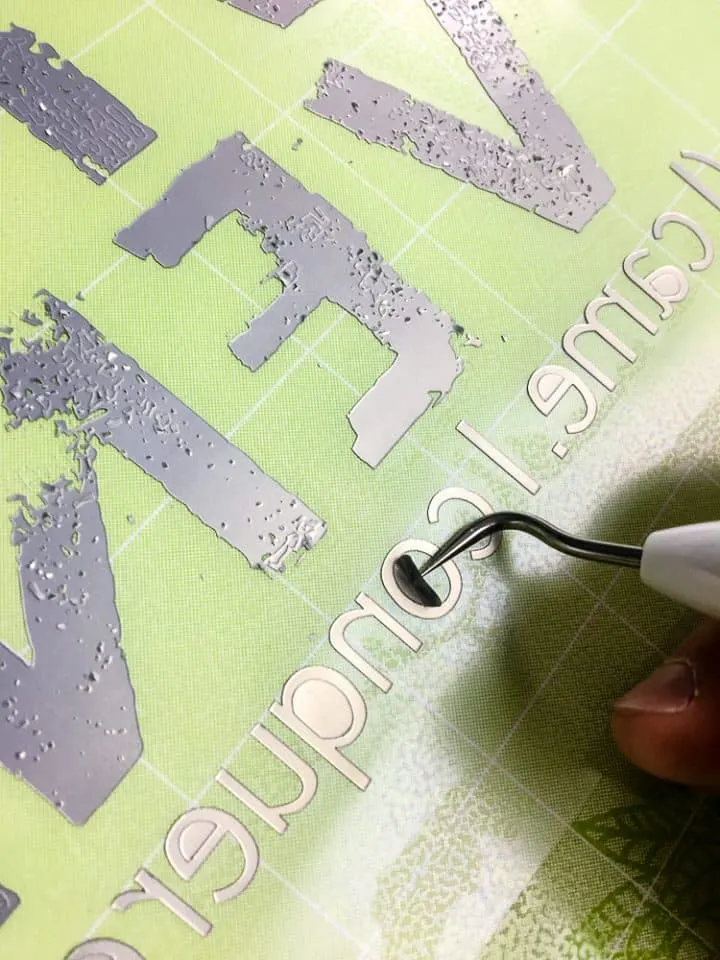
I will warn you that the distressed font I used in the example above does take quite a long time to cut. There are so many little holes and spots it needs to cut out, so this is by far the most time-consuming of the fonts I used. You can see in this picture with me weeding it, just how detailed it is.
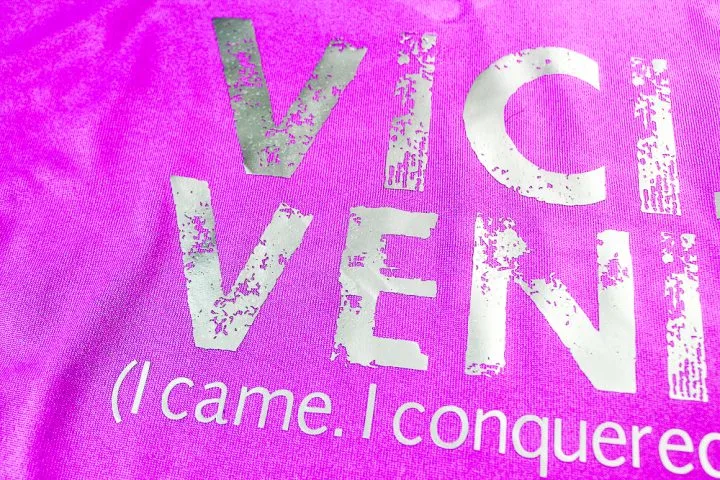
I also happen to think it gives one of the coolest results, though! Just make sure you get all the little pieces off before you iron it onto your shirt! Or I adjusted the file so it’s an easier font for you to work with. Trust me, you’ll be happy!
To get the VICI VENI cut file, click HERE!
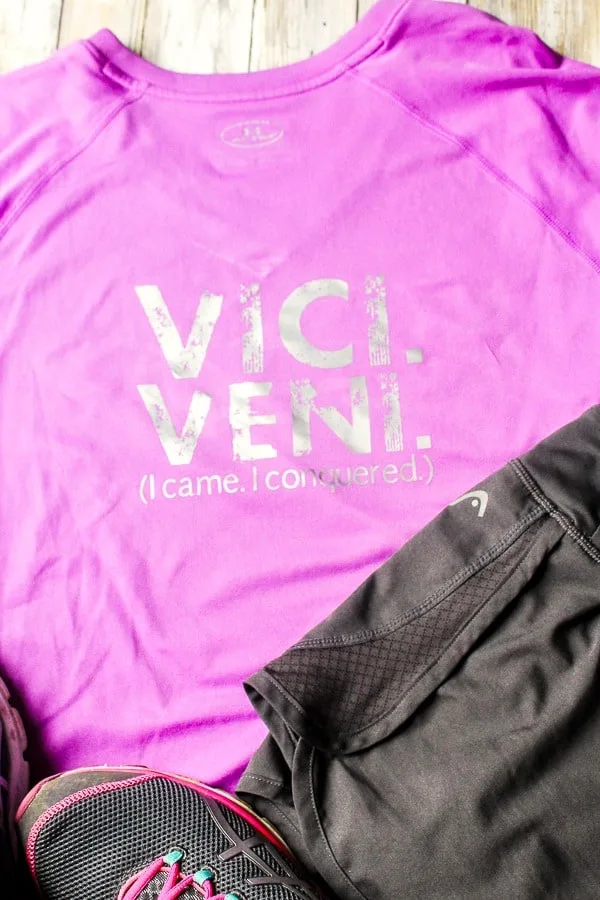
I used the silver SportFlex Iron On for this shirt. The logo that the shirt came with was already silver so it blended it perfectly and looks like the shirt was made this way! I love how the silver turned out. Not too flashy, but not so dull that it looks gray.
For the second shirt, I wanted to try a different color. This is almost a pearlescent green. It looks white in the photos, but in person it has the neatest tint to it.
Does anybody recognize this quote?? Dwight from The Office said it and it made me laugh out loud! Since we’re huge Office fans in our house, it was perfect for my daughter. She just needs to channel a little Dwight during her next track competition!
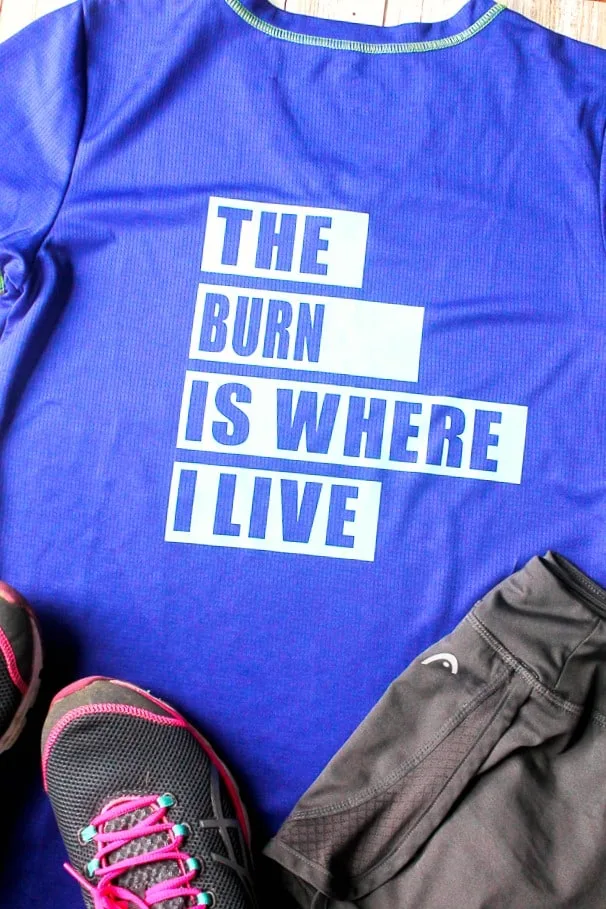
To get the Burn Is Where I Live cut file, click HERE.
My last shirt is one I hope my daughter internalizes as she goes through these tough teen years. It’s short and sweet, but straight to the point!
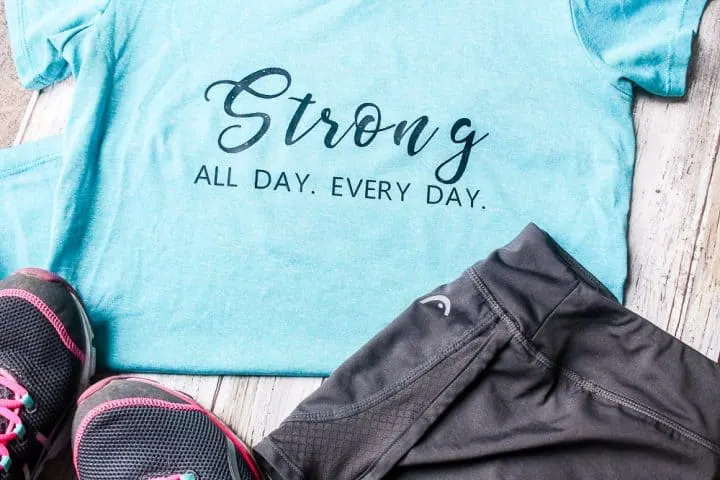
To get the Strong cut file, click HERE.
But don’t just stop with shirts like I did! You can customize yoga pants, your yoga mat, bathing suits, headbands and so much more! And you can be confident that your clothes will hold up to multiple washings, because the SportFlex comes with the Cricut StrongBond™ Guarantee. You’ll have long lasting results that you’ll love!
Be sure to pin this post, so you can come back to these FREE cut files!
This is a sponsored conversation written by me on behalf of Cricut. The opinions and text are all mine.

mary
Thursday 29th of March 2018
Oh I love that distressed font! I did not even know it existed!