
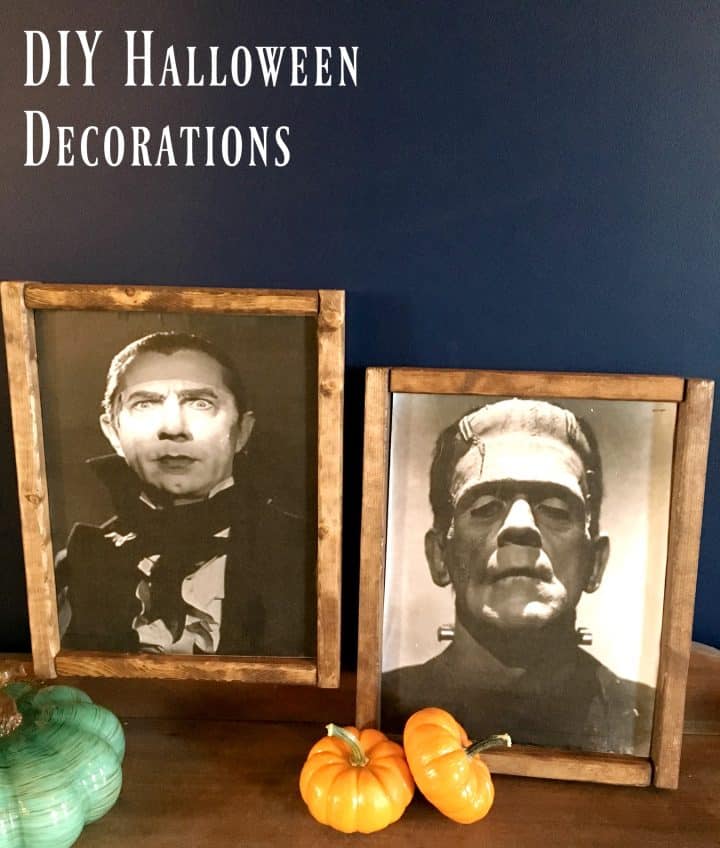
These DIY Halloween Decorations are perfect for your farmhouse style home and can be made for so cheap!
When I was packing up to move last year, I apparently was in a purging mood, because I got rid of SO much stuff! I vaguely remember piling everything in a giant pile in my sunroom and posting on a Facebook yardsale group that everyone was welcome to an indoor yard sale.
Seriously, I think that is literally how it went! Because of that, a lot of my holiday decorations are now gracing someone else’s home, and I’m left having to scrounge up something last minute.
Since I have a massive pile of scrapwood, and I’m into these farmhouse style frames… I decided to roll with that wave even through Halloween!
I started by printing off 8.5″ x 11″ black and white prints that I found through a Google search. I also want to take a moment to shout out my love for the HP Instant Ink program! If you aren’t familiar with it, you must CHECK IT OUT, because it is seriously one of my favorite things! I pay $2.99/month and get 50 prints (even color) plus all the ink cartridges I need!
Seriously. I never pay for ink cartridges or even have to know when to order them. HP tracks it all and sends them to your door when they need replaced. It totally fuels my habit of printing off anything and everything I want!

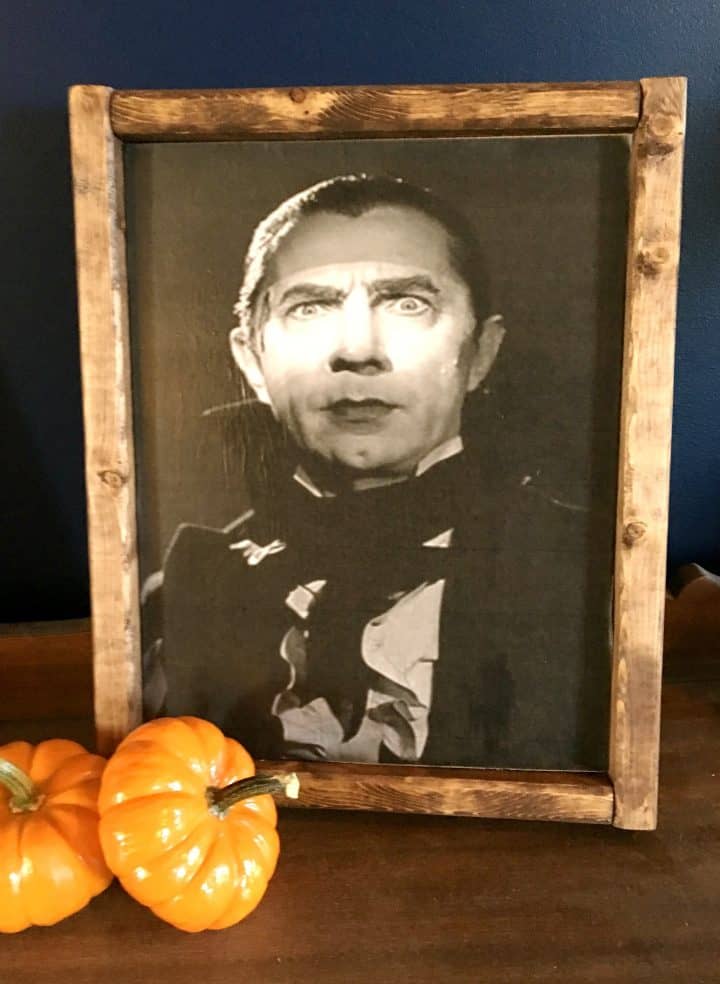
Trim the edges off your prints (you can see that Dracula already got his trimming), and then cut out wood boards the same size as your prints. I had 1/4″ plywood scraps that I cut them out of.

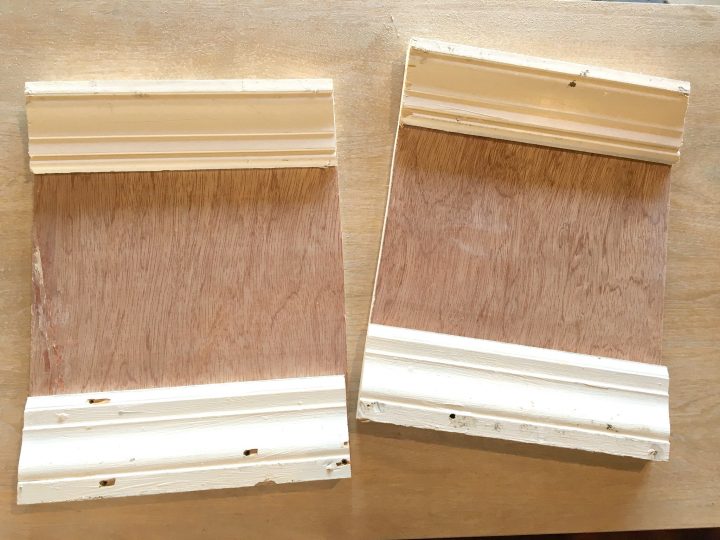
The 1/4″ plywood is nice and cheap, but it doesn’t give you any surface area to nail your frame into once it’s cut. So you need to nail 2 pieces of wood onto the back of your board at the top and bottom for a surface you can nail to.
I had leftover 30 year-old baseboard that we ripped out during our renovation that I used for the backs of mine. It doesn’t have to be pretty, it just has to be a little thick so a nail can anchor into it!

I just trimmed my baseboard pieces to the width of the rectangle base, and then used my nail gun to nail them together. I’m not kidding you, this goes super fast.
It looks like this from the back once you’re finished.
Here’s the view from the side for another project I’m working on. You can see if you put the thick edge towards the top and bottom, it gives your frame something to adhere to from both the tops and the sides.

As soon as that’s all attached (I’m telling you, between cutting your plywood, cutting your baseboard and attaching it… you’ve now invested about 5 minutes), you can decoupage your prints onto the front of your plywood.
I use Mod Podge and foam brushes. Just brush a light coat on the plywood, carefully place your print on and smooth out any wrinkles, then brush another thicker coat on top to cover the entire surface.

While you’re waiting for that to dry, your next step is to cut the frame.
I use a 1x2x8′ board for my frames. It’s called a Common Board at Home Depot and the whole 8′ length runs me a whopping $1.19. You can get a couple frames out of one length too, so these projects come out super cheap!
Just cut to size for your frame and then stain. I used Minwax Honey because that’s what I had on-hand.

Once your print is dry, use your nail gun to quick nail your frame around each side and you’re finished!

If you want to hang them, just hot glue a soda can tab onto the back and hang away!
Aside from the fact that this rustic look fits in perfectly with the rest of my decor, I love that they cost me nothing!
I used all supplies that I had on hand, and even though this post feels suuuper long, it was the quickest project! From printing these out to measuring, cutting, nailing, decoupaging, staining and assembling everything, it was about 30 minutes hands-on time. And that might be stretching it!

You could even make these larger if you want by printing out the black and white engineer prints from Staples! That’s what we used for my daughter’s Murphy Desk that we built and you can see how big and cheap it was in that post. It’s such a neat idea of holiday decorating that you don’t want to spend a lot of money on!
